# Spring Boot整合Knife4j
# 介绍
knife4j是为Java MVC框架集成Swagger生成Api文档的增强解决方案,有着一套全新的UI设计以及更强大的功能。
# 简单上手knife4j
- 引入knife4j引用
<dependency>
<groupId>com.github.xiaoymin</groupId>
<artifactId>knife4j-spring-boot-starter</artifactId>
<version>2.0.4</version>
</dependency>
<!-- <!– 避免版本冲突 –>-->
<!-- <dependency>-->
<!-- <groupId>com.google.guava</groupId>-->
<!-- <artifactId>guava</artifactId>-->
<!-- <version>29.0-jre</version>-->
<!-- </dependency>-->
<!-- 解决 Failed to start bean 'documentationPluginsBootstrapper'; 问题 -->
<dependency>
<groupId>org.springframework.boot</groupId>
<artifactId>spring-boot-starter-validation</artifactId>
</dependency>
注:knife4j集成到Spring Boot 2.3.x版本启动时会抛出异常,需要指定
guava包版本为最高的29.0-jre,解决包版本冲突问题以后即可
2020-09-15 更新:在使用的时候遇到了异常 org.springframework.context.ApplicationContextException: Failed to start bean 'documentationPluginsBootstrapper';,如上指定 guava 版本并没有解决问题,在手动引入了包 spring-boot-starter-validation 以后,问题就解决了,所以更新以上引入,去掉 guava 包,引入 spring-boot-starter-validation。
- 添加knife4j配置类
@Configuration
@EnableSwagger2 // 开始Swagger功能
@EnableKnife4j // 开始knife4j增强功能
@Import(BeanValidatorPluginsConfiguration.class)
public class SwaggerConfiguration {

    @Bean(value = "defaultApi")
    public Docket defaultApi2() {
        Docket docket = new Docket(DocumentationType.SWAGGER_2)
                .apiInfo(apiInfo())
                //分组名称
                .groupName("1.0")
                .select()
                //这里指定Controller扫描包路径
                .apis(RequestHandlerSelectors.basePackage("com.borg.news"))
                .paths(PathSelectors.any())
                .build();
        return docket;
    }

    private ApiInfo apiInfo() {
        return new ApiInfoBuilder()
                .title("News RESTful APIs")
                .description("# Borg news RESTful APIs")
                .termsOfServiceUrl("http://www.baidu.com/")
                .version("1.0")
                .build();
    }

}
- 若有拦截器,最好配置下knife4j的请求路径为不拦截,避免拦截后出现问题
@Configuration
public class InterceptorConfig implements WebMvcConfigurer {

    @Override
    public void addInterceptors(InterceptorRegistry registry) {
        InterceptorRegistration ir = registry.addInterceptor(new ResponseResultInterceptor()).addPathPatterns("/**");

        // 不拦截路径
        List<String> excludePaths = new ArrayList();
        // 开放knife4j
        excludePaths.add("/login");
        excludePaths.add("/doc.html");
        excludePaths.add("/service-worker.js");
        excludePaths.add("/swagger-resources");
        ir.excludePathPatterns(excludePaths);
    }
}
- 配好以后即可和使用Swagger2一样正常使用
- 控制器注解
@Api,整个类的注释
@Api(tags = "用户控制器")
@ApiOperation,方法上的注释
@ApiOperation(value = "获取用户信息", notes = "获取用户信息")
@ApiImplicitParams,参数列表的注释
@ApiImplicitParams({
    @ApiImplicitParam(dataType = "Long", name = "id", value = "用户id", required = true)
})
@ApiImplicitParam,每一个参数的注释
@ApiImplicitParam(name="id", value="用户id", dataType="Long", required = true)
- 实体类注解
@ApiModel,实体类的注解
@ApiModel(value = "用户实体类")
@ApiModelProperty,字段的注解
@ApiModelProperty(value = "昵称")
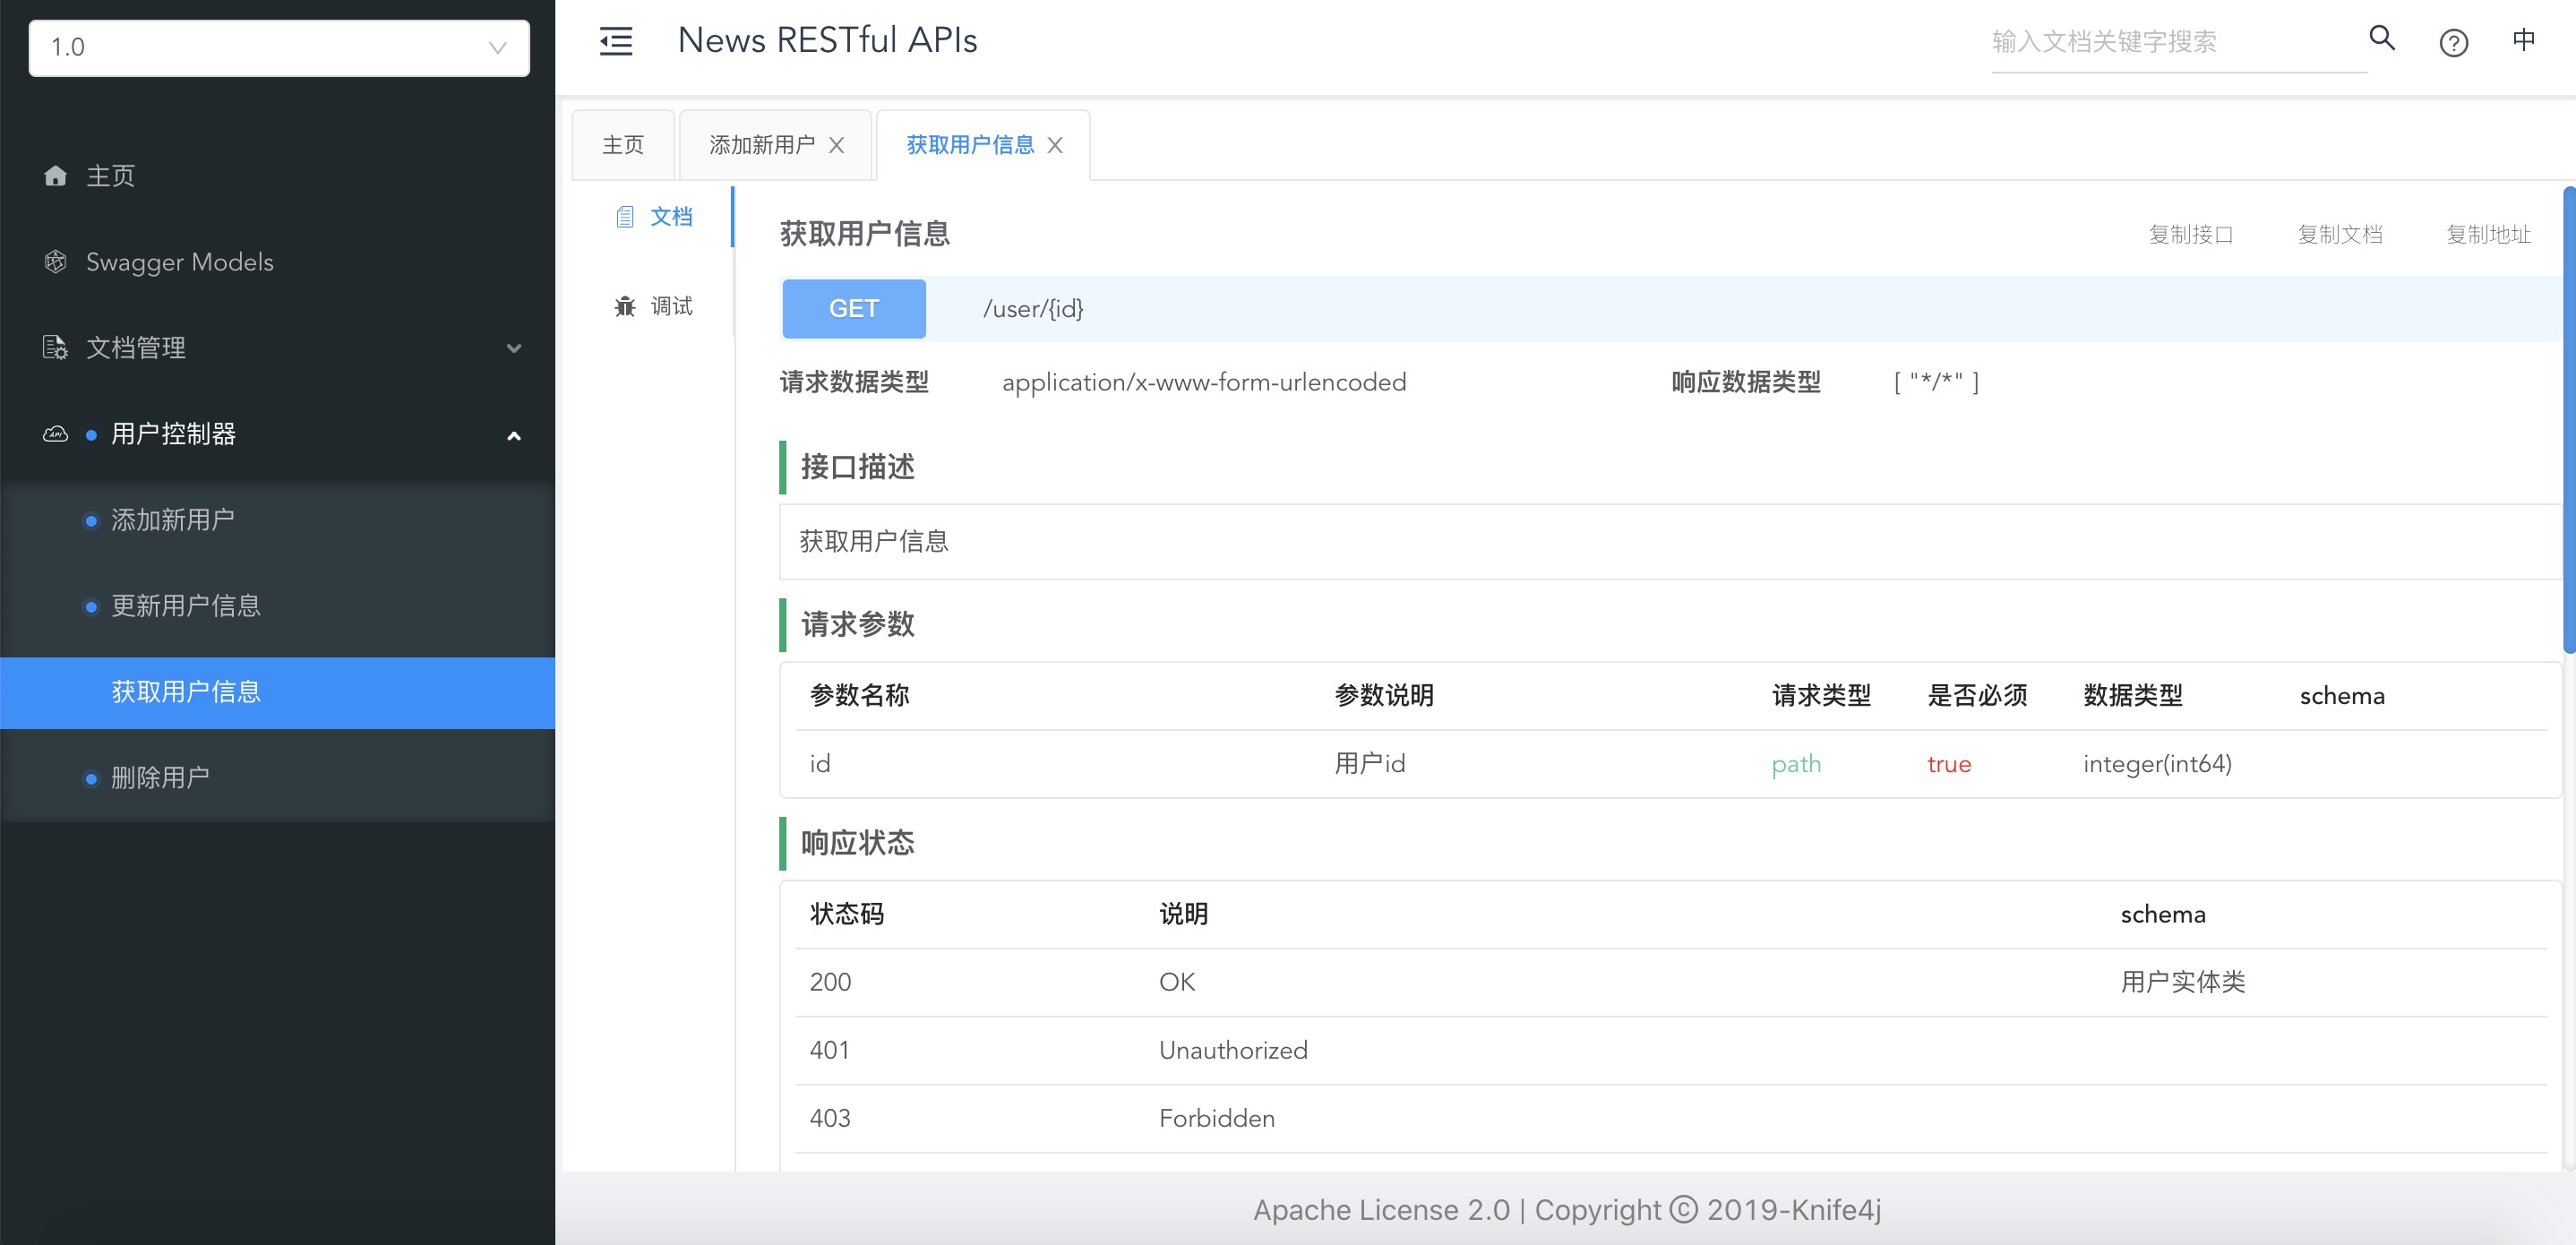
- 最终效果图

# 参考资料
← 包装通用控制层返回结果 事务管理 →